Sunny Daisy Coaster

What makes it special
Made with Love
Sunshine on a plate: a cute daisy coaster you’ll want to gift or keep for yourself.
Time to crochet
About 40–60 minutes for each primary piece, plus 10–20 minutes for assembly and finishing. Blocking (optional) helps petals lay flat and colors pop.
Beginner Friendly Level
Beginner-friendly pattern built with basic stitches (slightly elongated rounds for the petal motif). You’ll crochet three pieces: a yellow Center Disk, a White Petal Ring, and a Green Backing. The design stays flat and sturdy, with a neat finish and no stuffing.
About This Sunny Daisy Coaster
Bright, cheerful, and quick to crochet, the Sunny Daisy Coaster brings a pop of sunshine to your coffee table. This three-piece motif combines a sunny yellow center with crisp white petals and a soft green backing to create a sturdy, washable coaster that grips condensation and protects surfaces. Easy enough for beginners, yet adjustable for color and size with simple stitch changes.
This Sunny Daisy Coaster pattern is designed to be approachable for beginners while still delivering a polished, professional look. The three pieces interlock to form a daisy with a bright yellow center and white petals, finished with a green backing for stability and a touch of nature-inspired color.
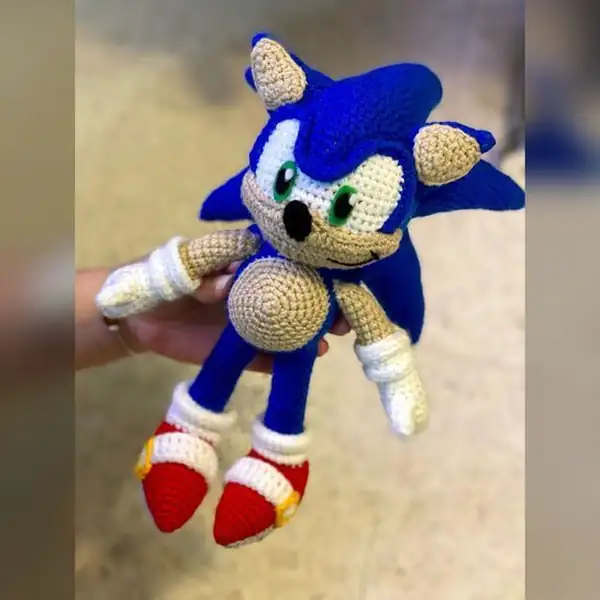
Adjust the size by using a heavier or lighter yarn, or by changing hook size. The pattern uses only basic stitches (single crochet and simple increases) and easily adapts to other colorways—make a whole set in different cheerful hues for a sunny kitchen display.
Why You'll Love This Sunny Daisy Coaster
If you love quick, cheerful makes that look boutique-quality, this coaster pattern is for you. It’s compact enough to finish in an evening, yet sturdy and reusable. It doubles as a thoughtful handmade gift and is a perfect starter project for beginners learning to keep track of rounds and color changes.
SEO-friendly, friendly to beginners, and endlessly customizable for holidays or seasonal decor.
Switch Things Up
Switch colors for a new set each season, or use a variegated yarn to add subtle shading. Change the center from yellow to orange for a marigold look, or swap white petals for soft pinks for a delicate spring vibe.
Common Mistakes & How to Fix Them
Abbreviations
-
01MR: magic ring
-
02SC: single crochet
-
03inc: increase (2 sc in the same stitch)
-
04FO: fasten-off
-
05sl st: slip stitch
-
06Ch: chain
-
07st: stitch
Sunny Daisy Coaster
pattern-design-metachat:amigurumi-pattern-sun-daisy:SEO-friendly:beginner-friendly.
- Skill level
- Beginner Friendly
- Time to make
- 2–3 hours total, depending on speed and how many color changes you choose.
Materials Needed
Tap an item to tick it off your stash — the list resets when you leave the page.
-
01Yarn: worsted weight cotton or acrylic (Color: Daisy Yellow, Petal White, Backing Green)
-
02Hook: 4.0 mm (G) crochet hook
-
03Finish: optional felt or cork backing for a non-slip bottom
-
01Crochet hook (4.0 mm / G)
-
02Yarn needle for weaving ends
-
03Scissors
-
04Stitch markers (optional)
-
05Blocking mat (optional)
-
06Fabric glue or hot glue (optional, for backing)
The Pattern, Round by Round
Tap a row when you finish its round — the red thread keeps your place.
Center Disk
6 SC in magic ring (6)
(inc) x6 around (12)
(inc) x6 around (18)
(inc) x6 around (24)
SC around (24)
SC around (24)
SC around (24)
SC around (24)
SC around (24)
SC around (24)
SC around (24)
SC around (24)
SC around (24)
SC around (24)
Fasten off and weave in ends.
Petal Ring
MR 6 (6)
(inc) x6 around (12)
(inc) x6 around (18)
(inc) x6 around (24)
SC around (24)
SC around (24)
SC around (24)
SC around (24)
SC around (24)
SC around (24)
SC around (24)
SC around (24)
SC around (24)
SC around (24)
SC around (24)
SC around (24)
SC around (24)
SC around (24)
SC around (24)
SC around (24)
Fasten off and weave in ends.
Backing
6 SC in magic ring (6)
(inc) x6 around (12)
(inc) x6 around (18)
(inc) x6 around (24)
SC around (24)
SC around (24)
SC around (24)
SC around (24)
SC around (24)
SC around (24)
SC around (24)
SC around (24)
SC around (24)
SC around (24)
SC around (24)
SC around (24)
SC around (24)
SC around (24)
Fasten off and weave in ends.
Finishing & Assembly
Lay Center Disk on top of Petal Ring, aligning centers. Whip stitch around the outer edge of the Center Disk to attach to the Petal Ring. Repeat to attach Petal Ring to Backing, ensuring the right sides are aligned. Weave in all ends. If you like a glossy finish, give a light steam block. Optional: glue a thin felt or cork backing to the underside for extra grip and protection.
Assembly Instructions
- Pin center to backing to ensure alignment
- Sew center to petal ring along the outer edge with a whip stitch
- Align edges before final stitching to avoid puckering
- Weave in all ends smoothly on the underside
- If desired, apply a thin layer of fabric glue to the underside before attaching cork or felt to prevent slipping
Important Notes
- Gauge is not critical for a coaster, but using tighter stitches will give a firmer coaster.
- Block lightly if your edges curl; avoid soaking the yarn.
- If you’re using self-striping yarn, plan your color transitions to keep the daisy cohesive.
- Wash gently by hand and lay flat to dry.
Sunny, cheerful, and sturdy—this three-piece coaster is a fast finish with a professional look. Perfect as a gift or a bright personal touch to any table.
Frequently Asked Questions
Yes. It uses basic stitches (single crochet and simple increases) and three clearly separated pieces. Color changes are straightforward.
Yes. Use a heavier yarn and larger hook for a bigger coaster, or a finer yarn and smaller hook for a smaller one. Keep stitch count proportional if you adjust the center sizing.
No stuffing is required. The coaster is flat and stable with the backing; you may optionally add a thin felt or cork backing for grip.
A light blocking after assembly helps set the edges. Make sure your tension remains consistent and the backing is flat while joining pieces.
Hand wash gently in cool water and lay flat to dry. Cotton-based yarns generally wash well and hold their shape with careful care.
Absolutely. Try a sunshine yellow center with pale orange petals for a warm marigold vibe, or pastel petals with a lemon center for a springtime look.