About This Pink Rascal Amigurumi Pattern
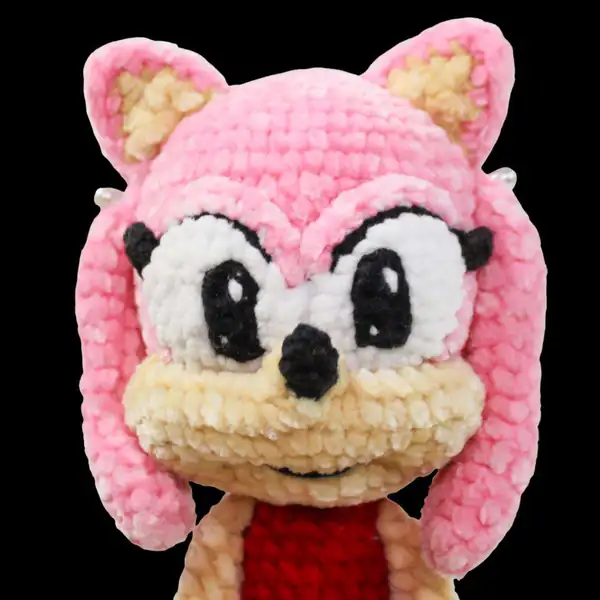
The Pink Rascal Amigurumi Pattern is a masterclass in shaping and surface texture, built to yield a plush companion that is both sturdy and delightfully huggable. We work primarily in Plush weight yarn, a #4 weight that creates a lush, squeezable body when paired with a 3.5 mm hook. The finished figure rises to approximately 36 cm tall, with a friendly upright stance that makes it ideal for display or play.
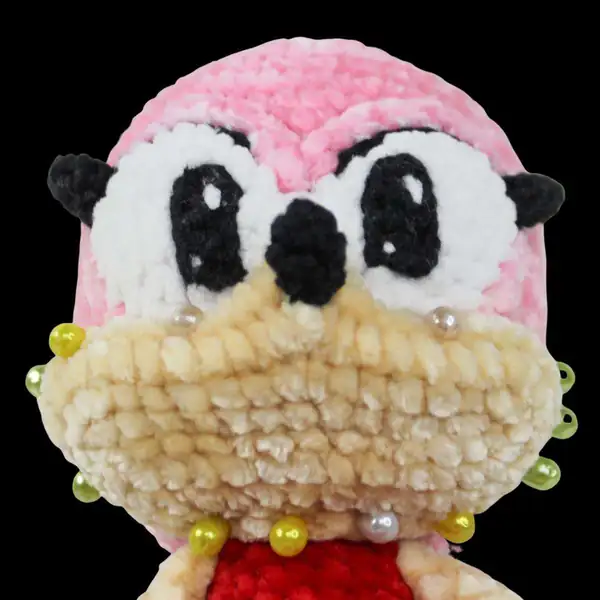
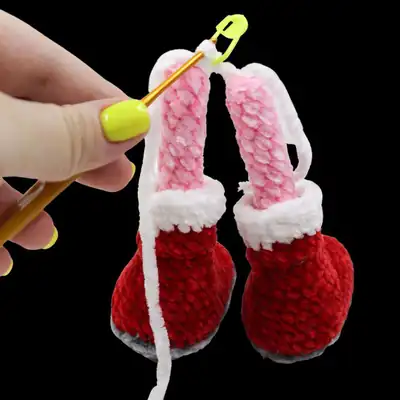
The construction blends classic amigurumi methods with careful edge work: you’ll crochet around a magic ring to form the core, build up the torso with a sequence of SC and INC stitches, and then sculpt the limbs and head through precise DEC and MR techniques. The texture is further enriched by the option to use BLO and FLO stitches to add light shading and subtle contour without sacrificing pliability. Invisible decreases keep seams discreet, while security eyes or embroidery provide that reassuring, finished look.
I’ve laid out a full round-by-round path that respects the rhythm of slow, confident crocheting, so you can enjoy the process as much as the result. Expect a blend of technique and whimsy as you assemble the arms, legs, and ears, then stitch on a playful smile that captures the Rascal’s fearless charm.
What makes the Pink Rascal Amigurumi Pattern stand out is the balance between technical precision and characterful warmth. The pattern walks you through a deliberate sequence: you’ll establish a snug core with a magic ring, add limbs using incremental increases, and shape the head with a focused series of decreases that create a lively face. The design relies on a plush weight yarn to achieve a plush, squeezable feel, and the choice of a 3.5 mm hook keeps the stitches compact enough for durable stuffing while still gliding through the fabric smoothly. Texture options emerge as you alternate BLO and FLO in strategic rounds, giving the Rascal a soft tonal variation that reads as natural shading rather than a flat surface. The pattern emphasizes an invisible decrease and careful seam placement to ensure the body remains cohesive and clean in silhouette, a hallmark of advanced amigurumi work.
From the first MR to the final slip stitch, the build invites you to think in three dimensions. The head transitions into a friendly neck and torso that support a tall, confident posture, while the limbs are wired to hold a gentle bend if you desire. You’ll learn to stuff for balance—firm where it supports pose, soft where it needs to keep a baby-safe feel—so the Rascal can stand steady on a shelf or lean into a favorite throw for cuddle time. Color management is subtle but deliberate, with a chosen palette that keeps the character recognizable while letting you personalize accessories or subtle facial shading without overpowering the overall silhouette.
Educational at its core, this pattern also serves as a stepping stone for more complex amigurumi projects. The rounds escalate in a predictable cadence, which helps you build muscle memory for counting, placing stitches, and executing clean color changes. Whether you’re refining your ability to carry yarn through BLO and FLO regions or perfecting the art of safe, tiny stitches around a face, Pink Rascal rewards patience and practice without sacrificing joy. The finished piece is not only a delightful toy but a character you can tell stories with, photos with, and dream about in future color explorations.
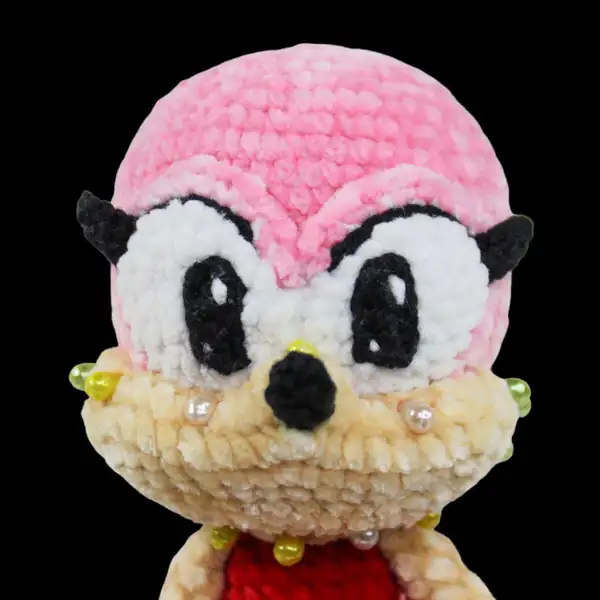
One of the design’s strongest features is its adaptability. While the core construction remains faithful to the pattern, you can tailor features to reflect your own style. I enjoy adding a small tuft on top of the head or giving the Rascal a jaunty ear tilt that communicates personality without altering scale. The facial features can be embroidered softly with a contrasting yarn for a vintage feel, or you can opt for tiny safety eyes if your display needs a more timeless look. The pattern accommodates subtle shading by using different shades of pink on separate rounds, and you can introduce a secondary color for tiny accessories like a scarf or bow. The colorwork remains gentle, ensuring the overall silhouette remains balanced and respectful of the plush heavier yarn.
Because the Rascal is designed to stand tall, you’ll want to ensure a solid stuffing plan. I recommend a gradual approach, adding stuffing in small amounts through the limbs and torso to maintain symmetry and prevent lumps. If you prefer a more poseable sculpture, a touch of fiberfill mixed with a tiny amount of polyester stuffing will give you a livelier torso that still holds its shape. For those who want to reuse an existing stash, the pattern scales well with variations in plush yarn brands, as long as you maintain the overall density. In short, the Rascal invites you to experiment with texture, color, and stance, all while staying faithful to the round-based construction that makes amigurumi feel reliable and satisfying to crochet.